Dive into the Cold Water!
Now let’s dive right into the RStudio program. RStudio is a software that uses the R language. The interface provides a good solution for organizing your own projects and data. If you have worked with Stata or SPSS before, you will recognize some parallels. Alternatively, you can also use R directly without RStudio (recommended for advanced users only). The appearance of RStudio can be customized to suit your needs.
Overall, RStudio offers 4 main windows (which can also be customized):
Console (also: Terminal, Jobs)
Environment (also: History, Connections)
Files (also: Plots, Packages, Help, and Viewer)
Editor (Script window)
To use RStudio, we go to the cloud version or the login page. If you haven’t created an account on RStudio Cloud yet, please register first! Unfortunately, it is not technically possible to enable login with the JLU account as planned.
Here is an animation showing the login process after registering an account.
As you can see in the GIF, you are first in your personal workspace and there are no projects visible. When you click on the course workspace on the left, you will see the projects course materials and firststeps. A workspace is a management unit in RStudio Cloud where different projects can be grouped together.
Simply click on the firststeps project. When you open the project, you will initially see the following image:
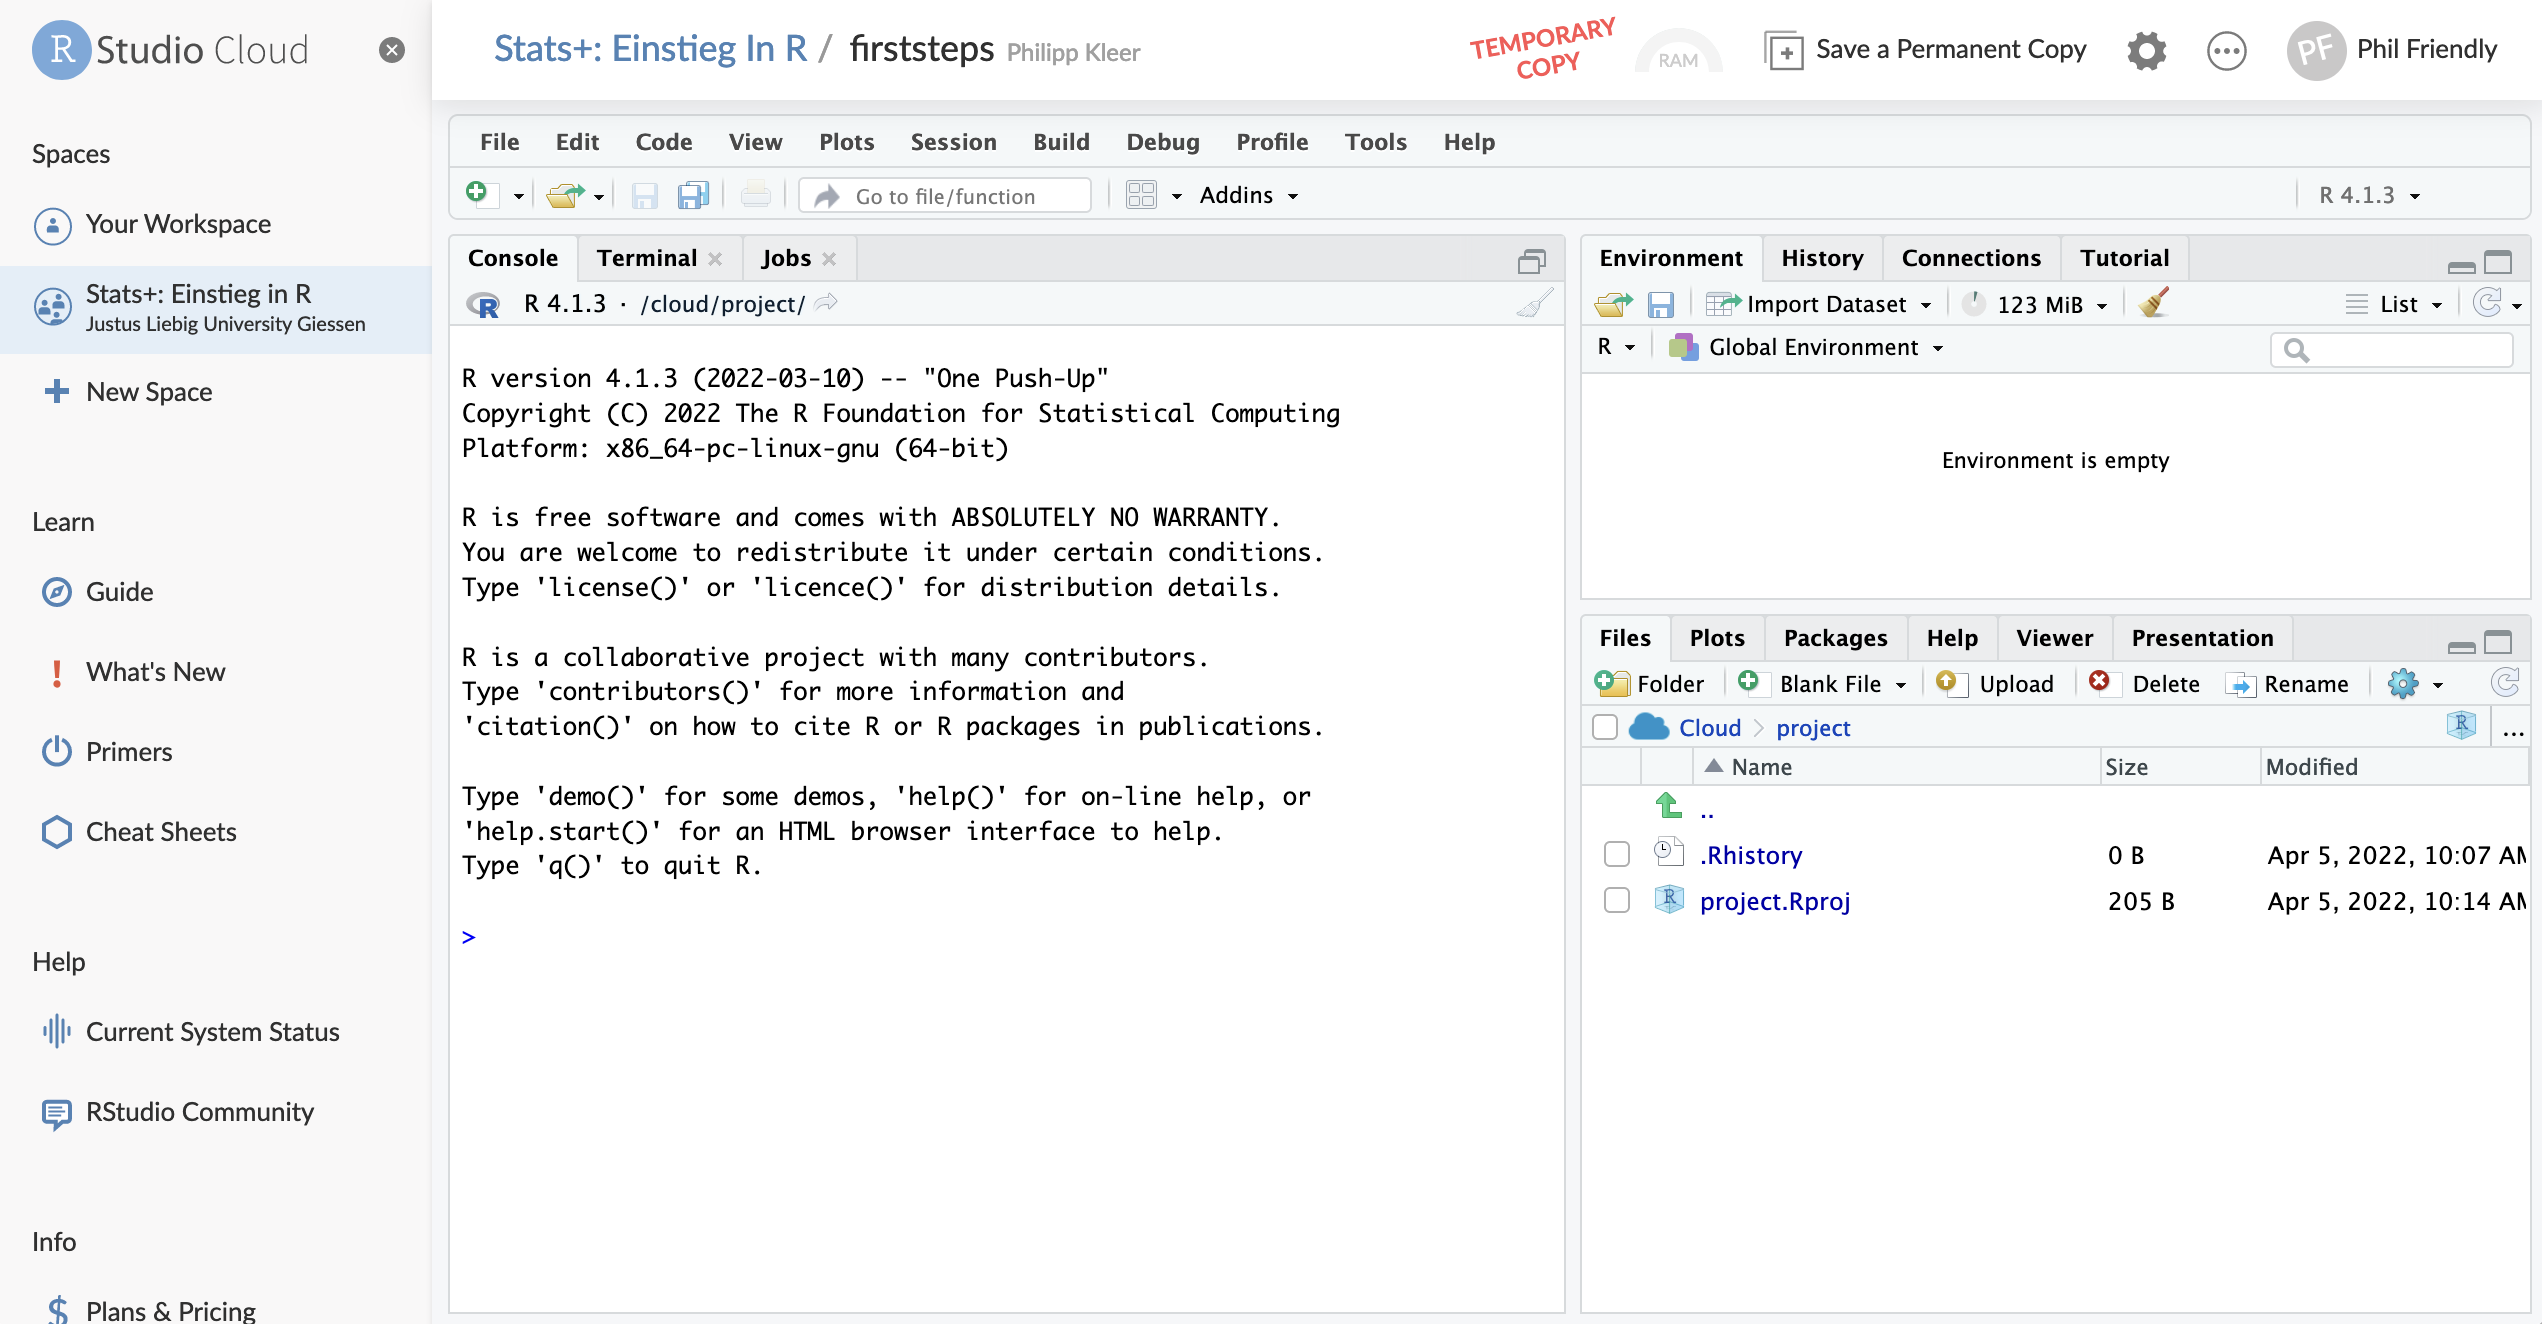
The most important thing when using prepared projects like firststeps or course materials is to create a copy for your account! Therefore, when you first open it, you will only see a temporary copy in the top right corner. To be able to work in the project and have your changes saved for you, you need to click on Save a permanent copy once. The project will then be created and linked to your account. After this, you will no longer see the red text temporary copy. Now you can work in this project and explore the different areas.
RStudio has a tile pattern with different tiles. On the left, we see the Console, on the top right the Environment, and on the bottom right the Files. There are more tabs in the tiles, but let’s leave those aside for now.
In the Console, we can directly enter and execute commands using the R language. Now, simply enter any arithmetic operation in the console and confirm with Enter.
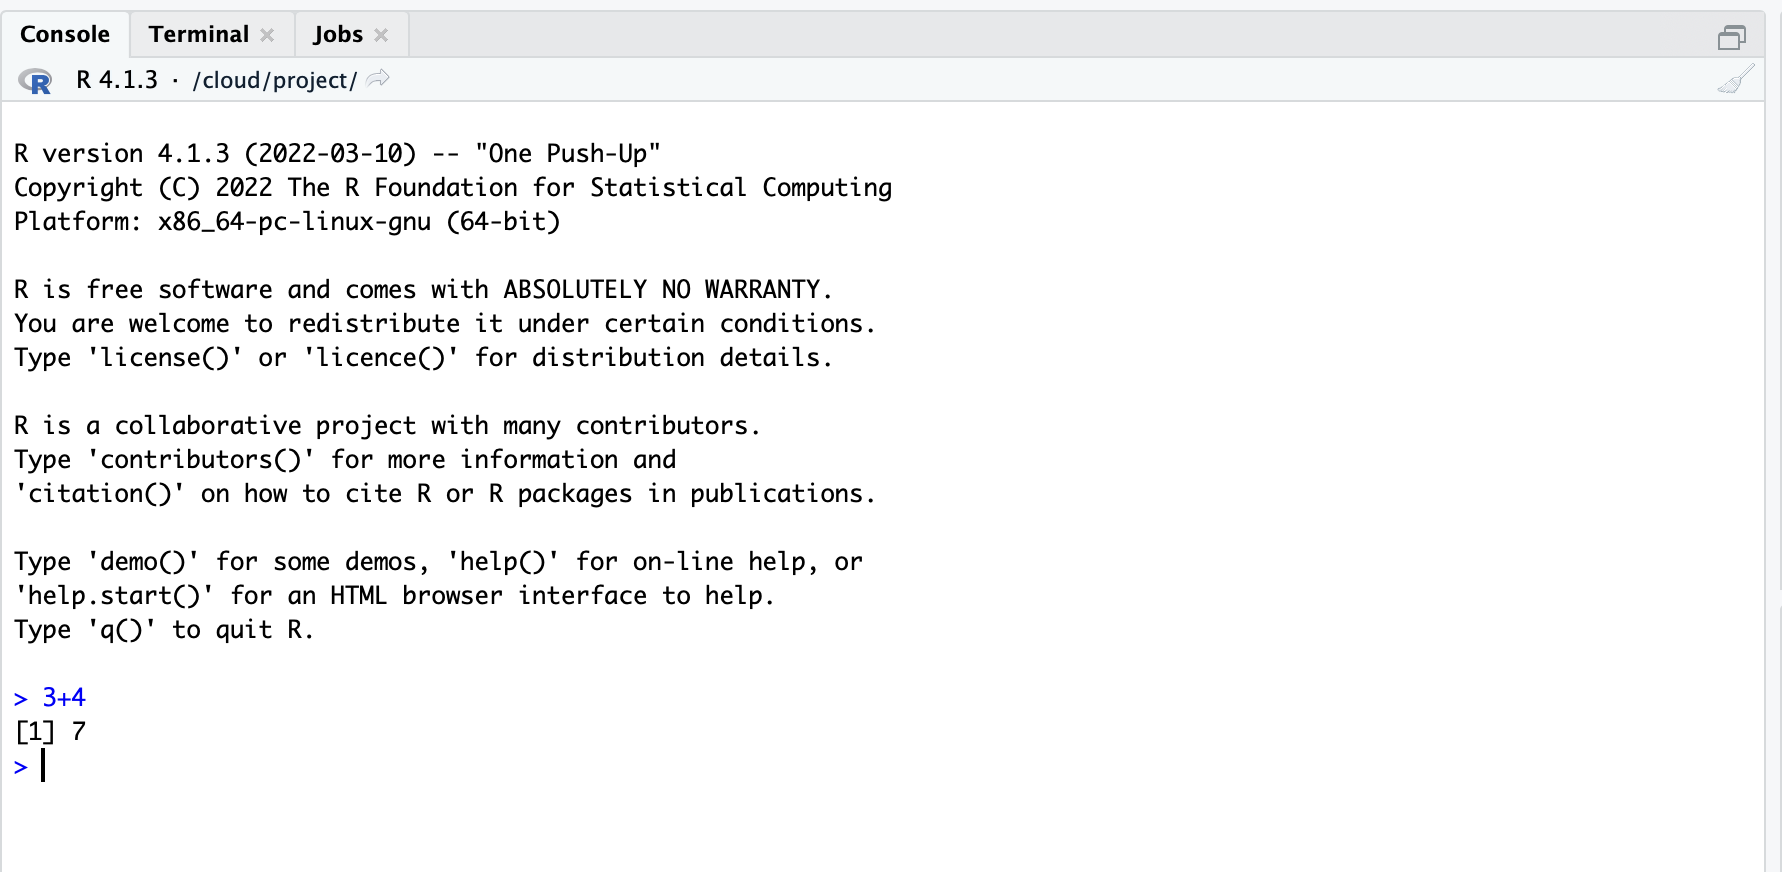
In the example, you can see that the R language can directly process mathematical calculations and handle the computation for us (even if it may not be necessary in this simple example). It also immediately outputs the result of this instruction. The [1] is just the numbering of the output, which becomes relevant when we have longer outputs spanning multiple lines.
To obtain the result of the calculation, we would have to specify and execute the calculation each time. That would be somewhat tedious, and this is where the advantage of the R language comes into play, as it is object-oriented. This simply means that we can store almost everything in an object and then call this object whenever we want and display its contents.
Assignments to objects in R are done with <-. On a Mac, you can achieve this using the option and - key combination, and on a Windows computer, you can use alt and -.
Now we will store the simple calculation from above in an object that we will name math.
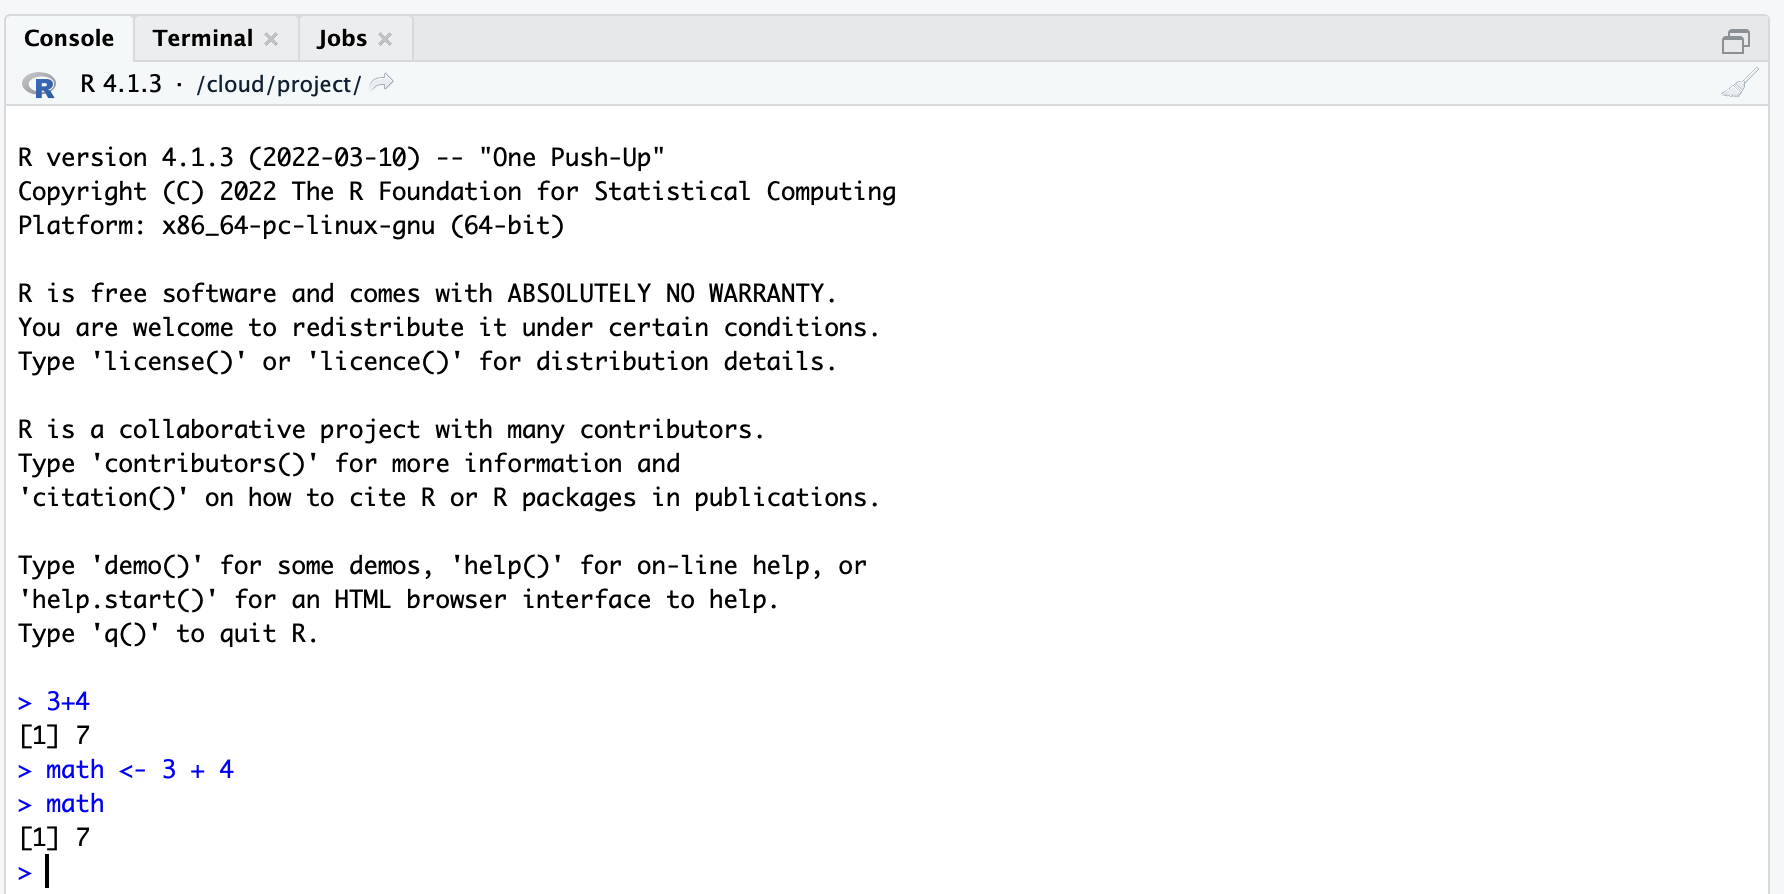
In the screenshot, you can see that you need to call the object to see the result. You can do this by simply typing the object name into the console and pressing Enter again.
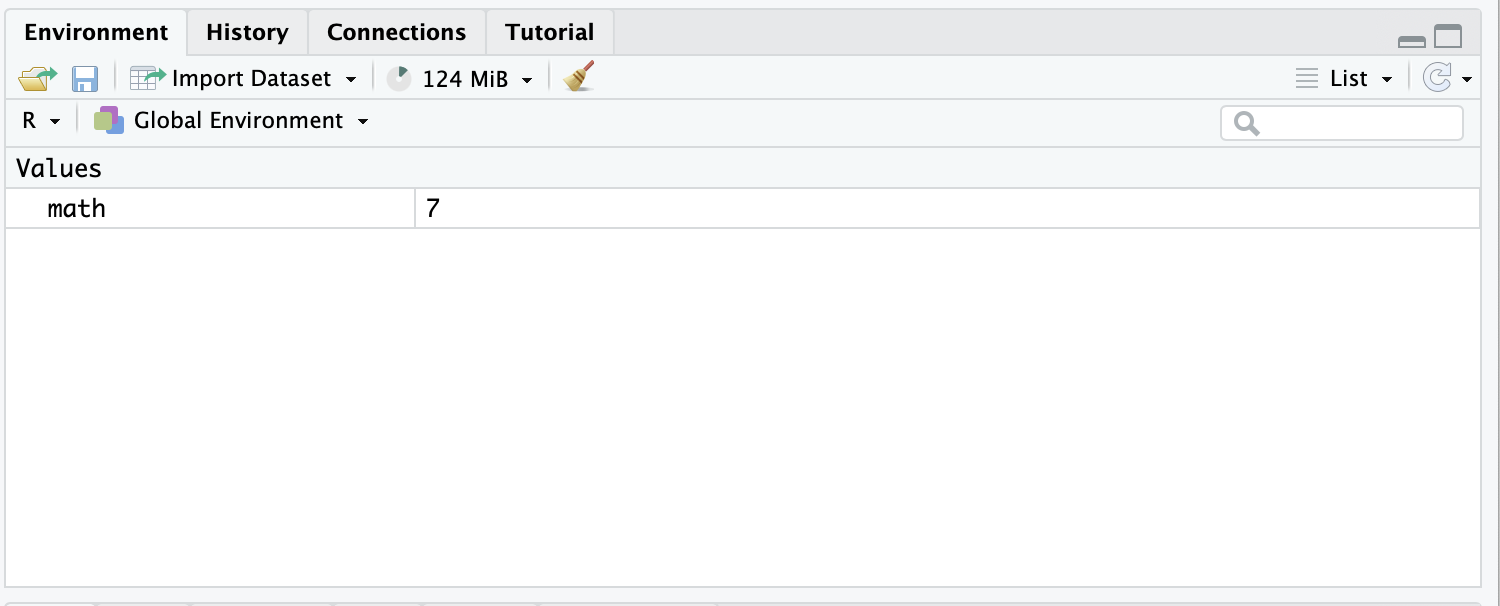
We have now saved the first object, and you can see this under Environment. There, during a session, you can see all the objects you have created in that session. In this case, we see the saved object math, which contains the result of the addition of 3 + 4.
One disadvantage of the console is that we cannot copy the written code from it and share it with others, for example. However, it is often necessary to pass on the written code (for example, in group work or when submitting an assignment), or you may need to add comments to the code so that you can better understand what you did at that moment. For this purpose, there are so-called scripts. Scripts are text files in which we can write directly in the R language and where we can also add comments to the code. Now open a new script file as shown in the screenshot or simply use the key combination Cmd and Shift and N or Ctrl and Shift and N.

In this file, we can write instructions in the R language. We will always do this from now on instead of working in the console. This way, the work is saved in a file, allowing us to recall it or share it with others.
The steps from the console can also be entered in the script. Comments always start with a #. The language recognizes that this line does not contain executable code but simply text.
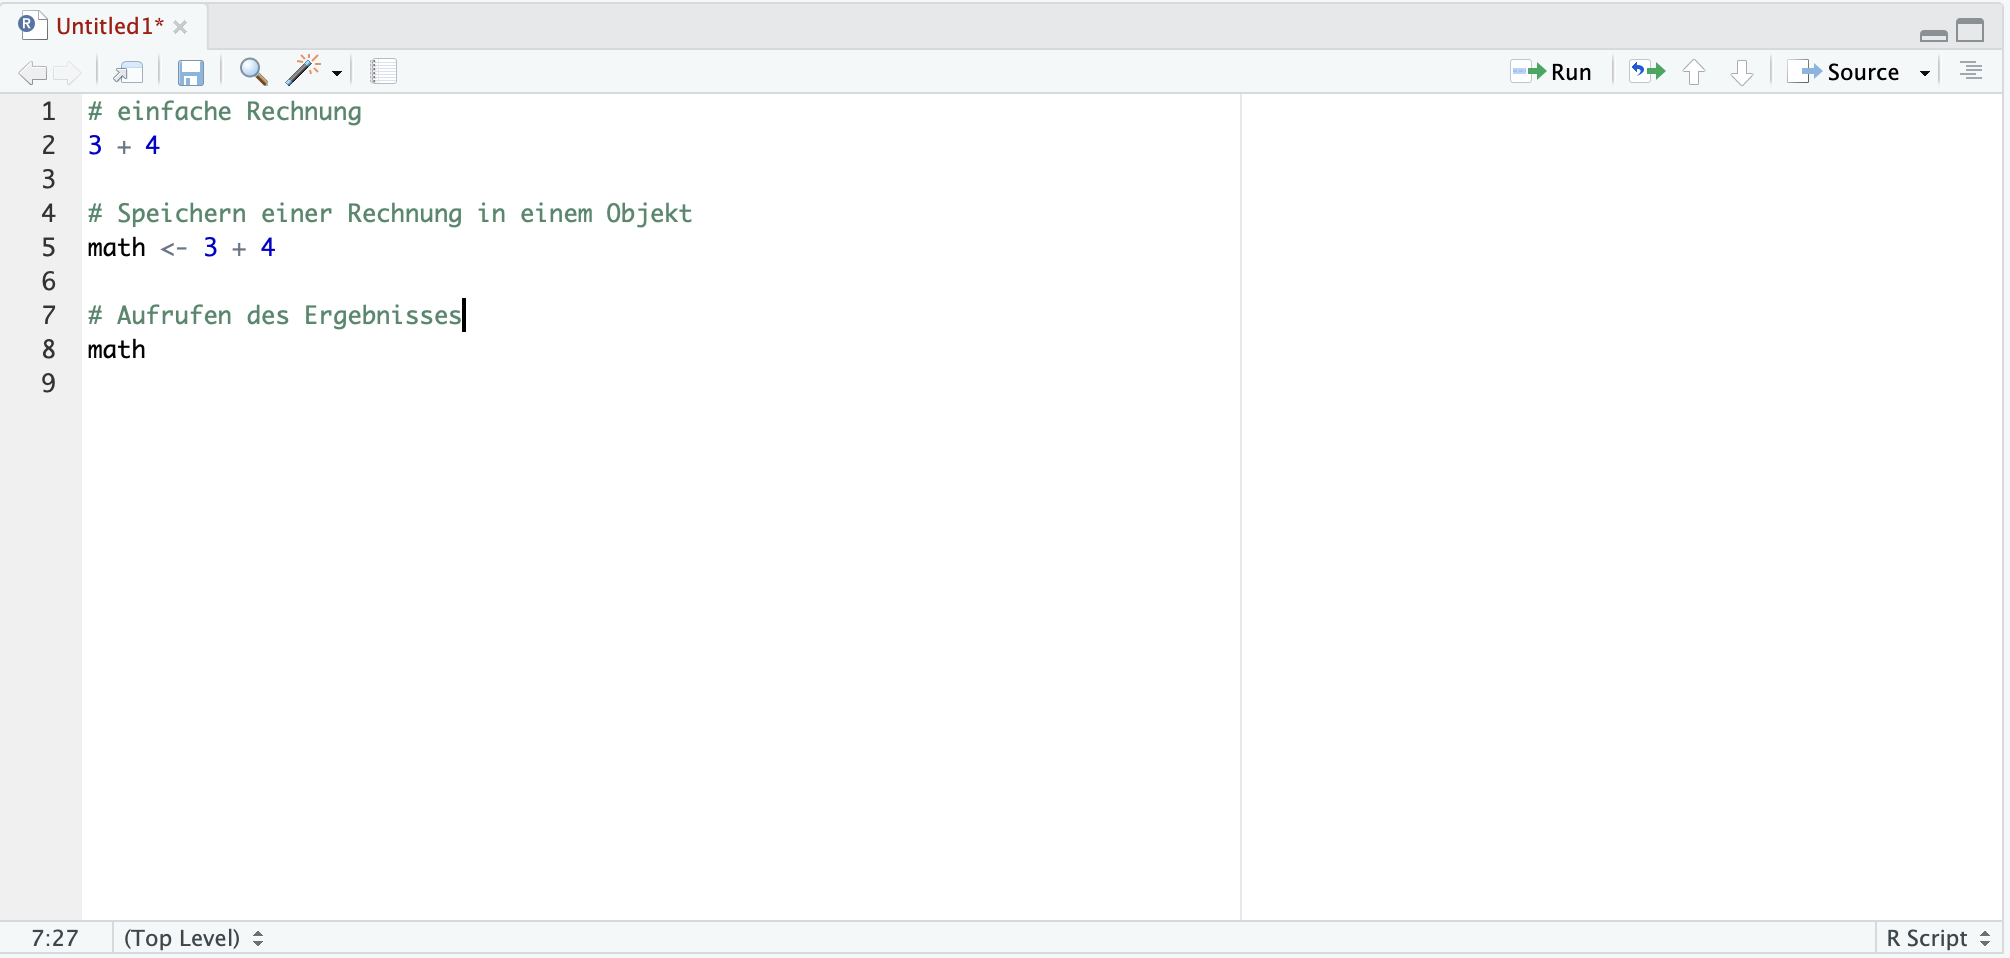
To execute the code, simply select the lines to be executed and press the key combination cmd + Enter or Ctrl + Enter. Alternatively, you can also select the line and press the Run button (top right in the script tile).
We haven’t saved the file yet, which can be done simply by pressing the key combination cmd + S or Ctrl + S. You will then be prompted to provide a file name and specify the file location (path). For now, just stay in the suggested path. We will name the file firsttry.
In the Files tile, you can now see this new file.
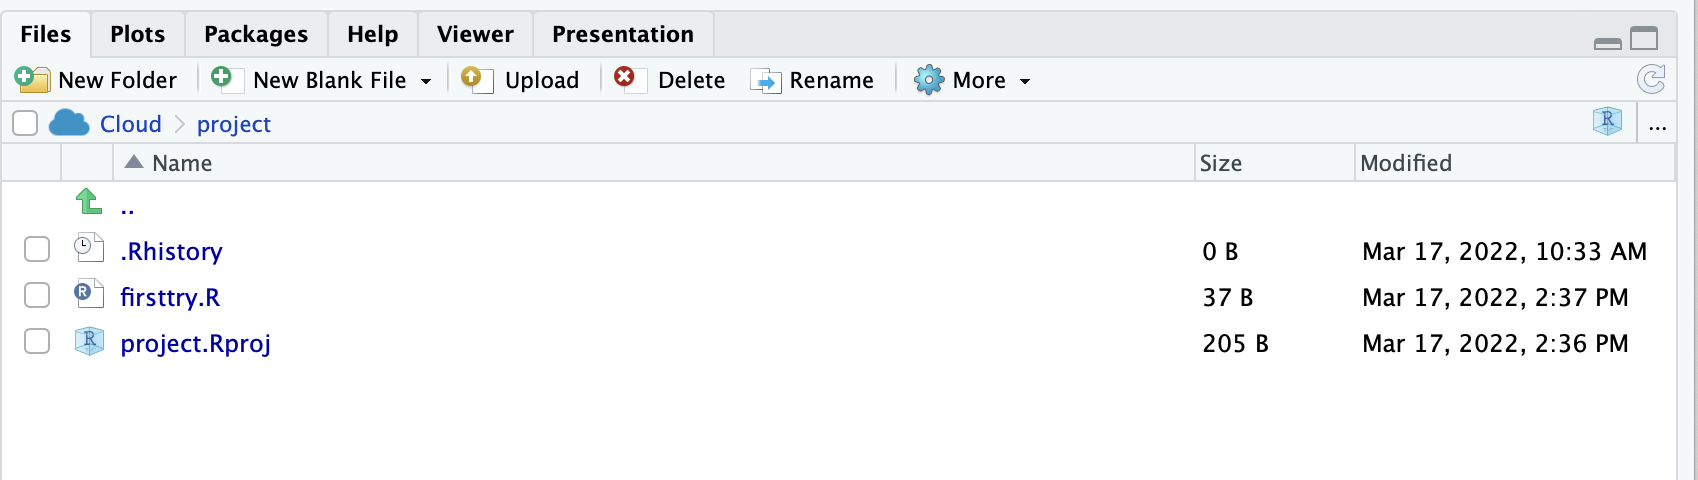
As you can see, R script files have the extension .R. All files ending in this way are R script files containing code in the R language that is executable with RStudio.
Now, simply test the use of the script and add two new lines of code that include the following:
Perform a calculation that involves multiplication and addition, resulting in 20.
Save another calculation in the object
result, which consists only of a subtraction resulting in 17.
See what has changed in the Environment.
Finally, exit the project and return to the workspace. You can do this by simply clicking on the Workspace in the menu on the left.
You will then see that the project firststeps appears twice.
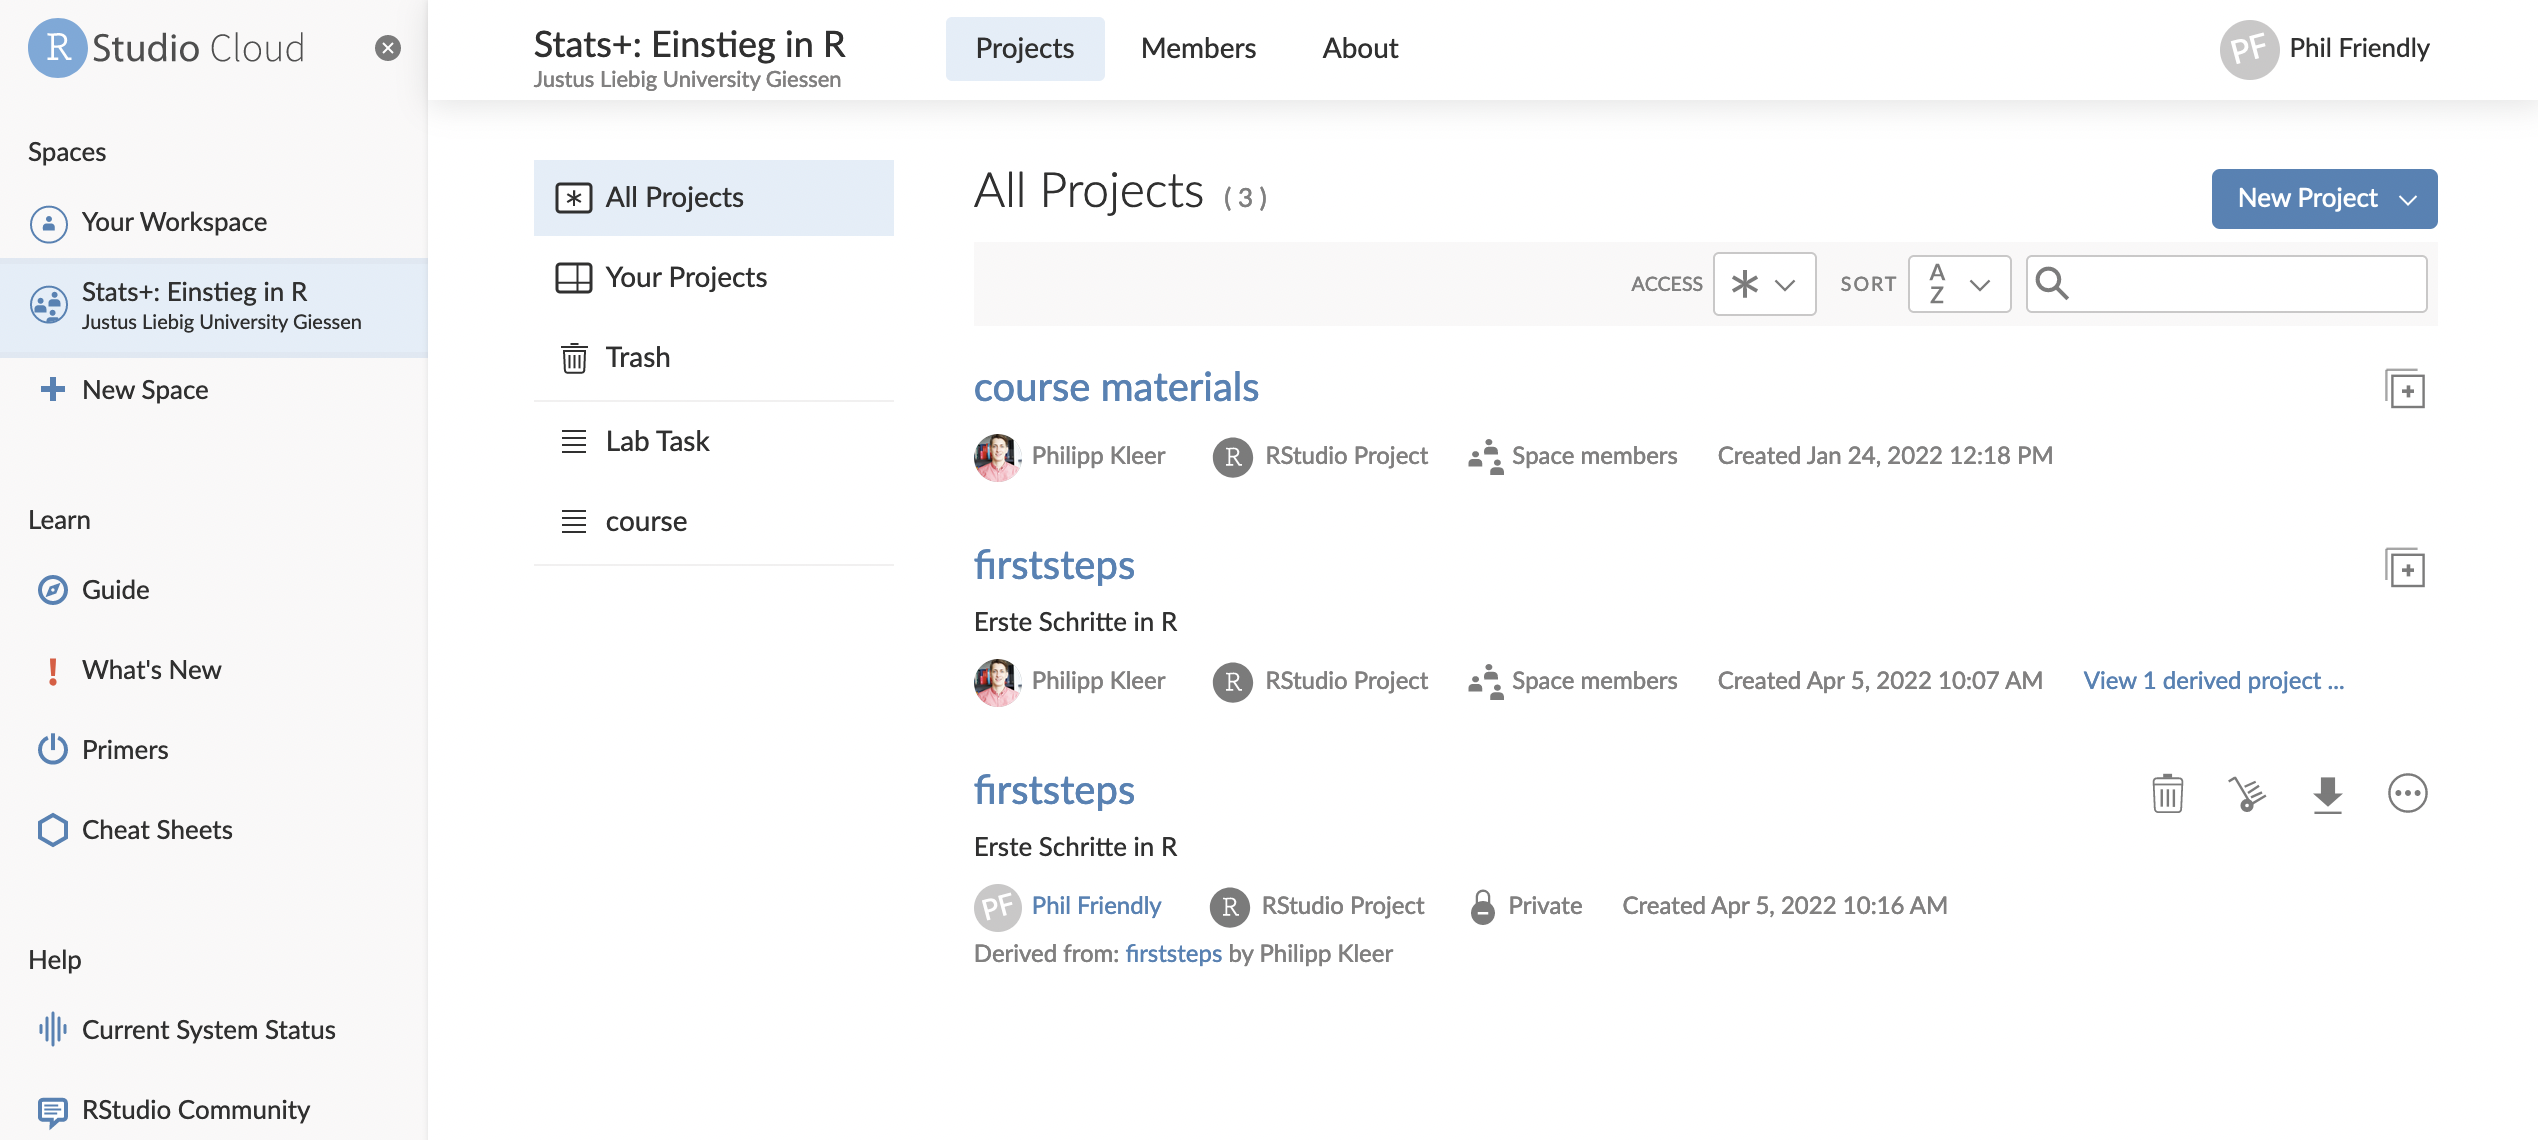
This is not incorrect but correct! Once there is the prepared project from us (you can recognize it by Philipp Kleer being the Owner), and then there is the project firstseps copied by you, where you can work. You will be listed as the Owner there. In this example, the user is Phil friendly.
To avoid confusion and actually make changes in your own project, you can simply select Your Projects in the menu, and only the projects where your changes will be saved will be displayed.
 Important: Only you and the instructor can see your own projects!
You have successfully mastered the first steps. You know how to save objects and how to call them! You can already perform simple calculations. Next, we will focus on object types in R.