Automated Control
Here we show you how to automatically check your script for the group submission. You can run the test as many times as you want, but it takes some time because it runs on a private server and not through the university. That’s why in the lab tasks, we only work with the fictional dataset of the PSS.
You have just learned how to send changes to the global version. If your group has a finished version, one person from the group can log in to gitlab and start the automated check there.
To do this, you just need to follow three simple steps:
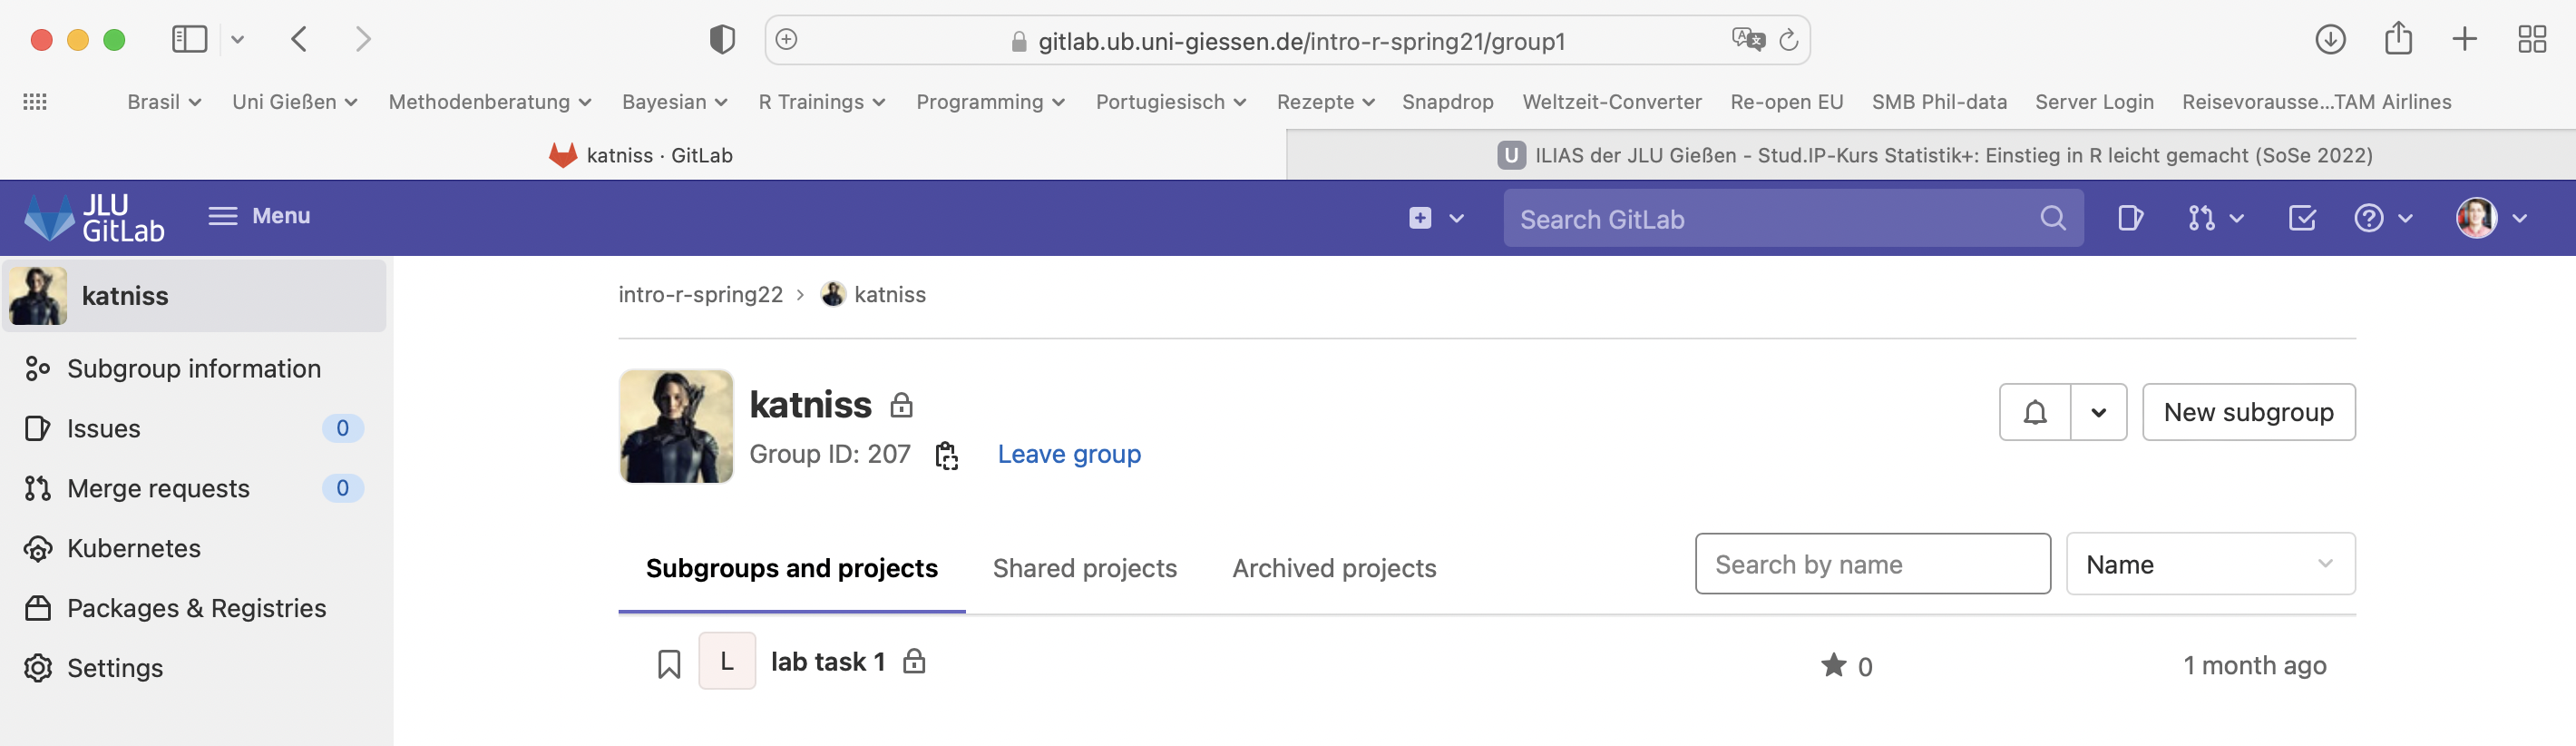
Log in to gitlab
Go to your group (in this example, Katnyss)
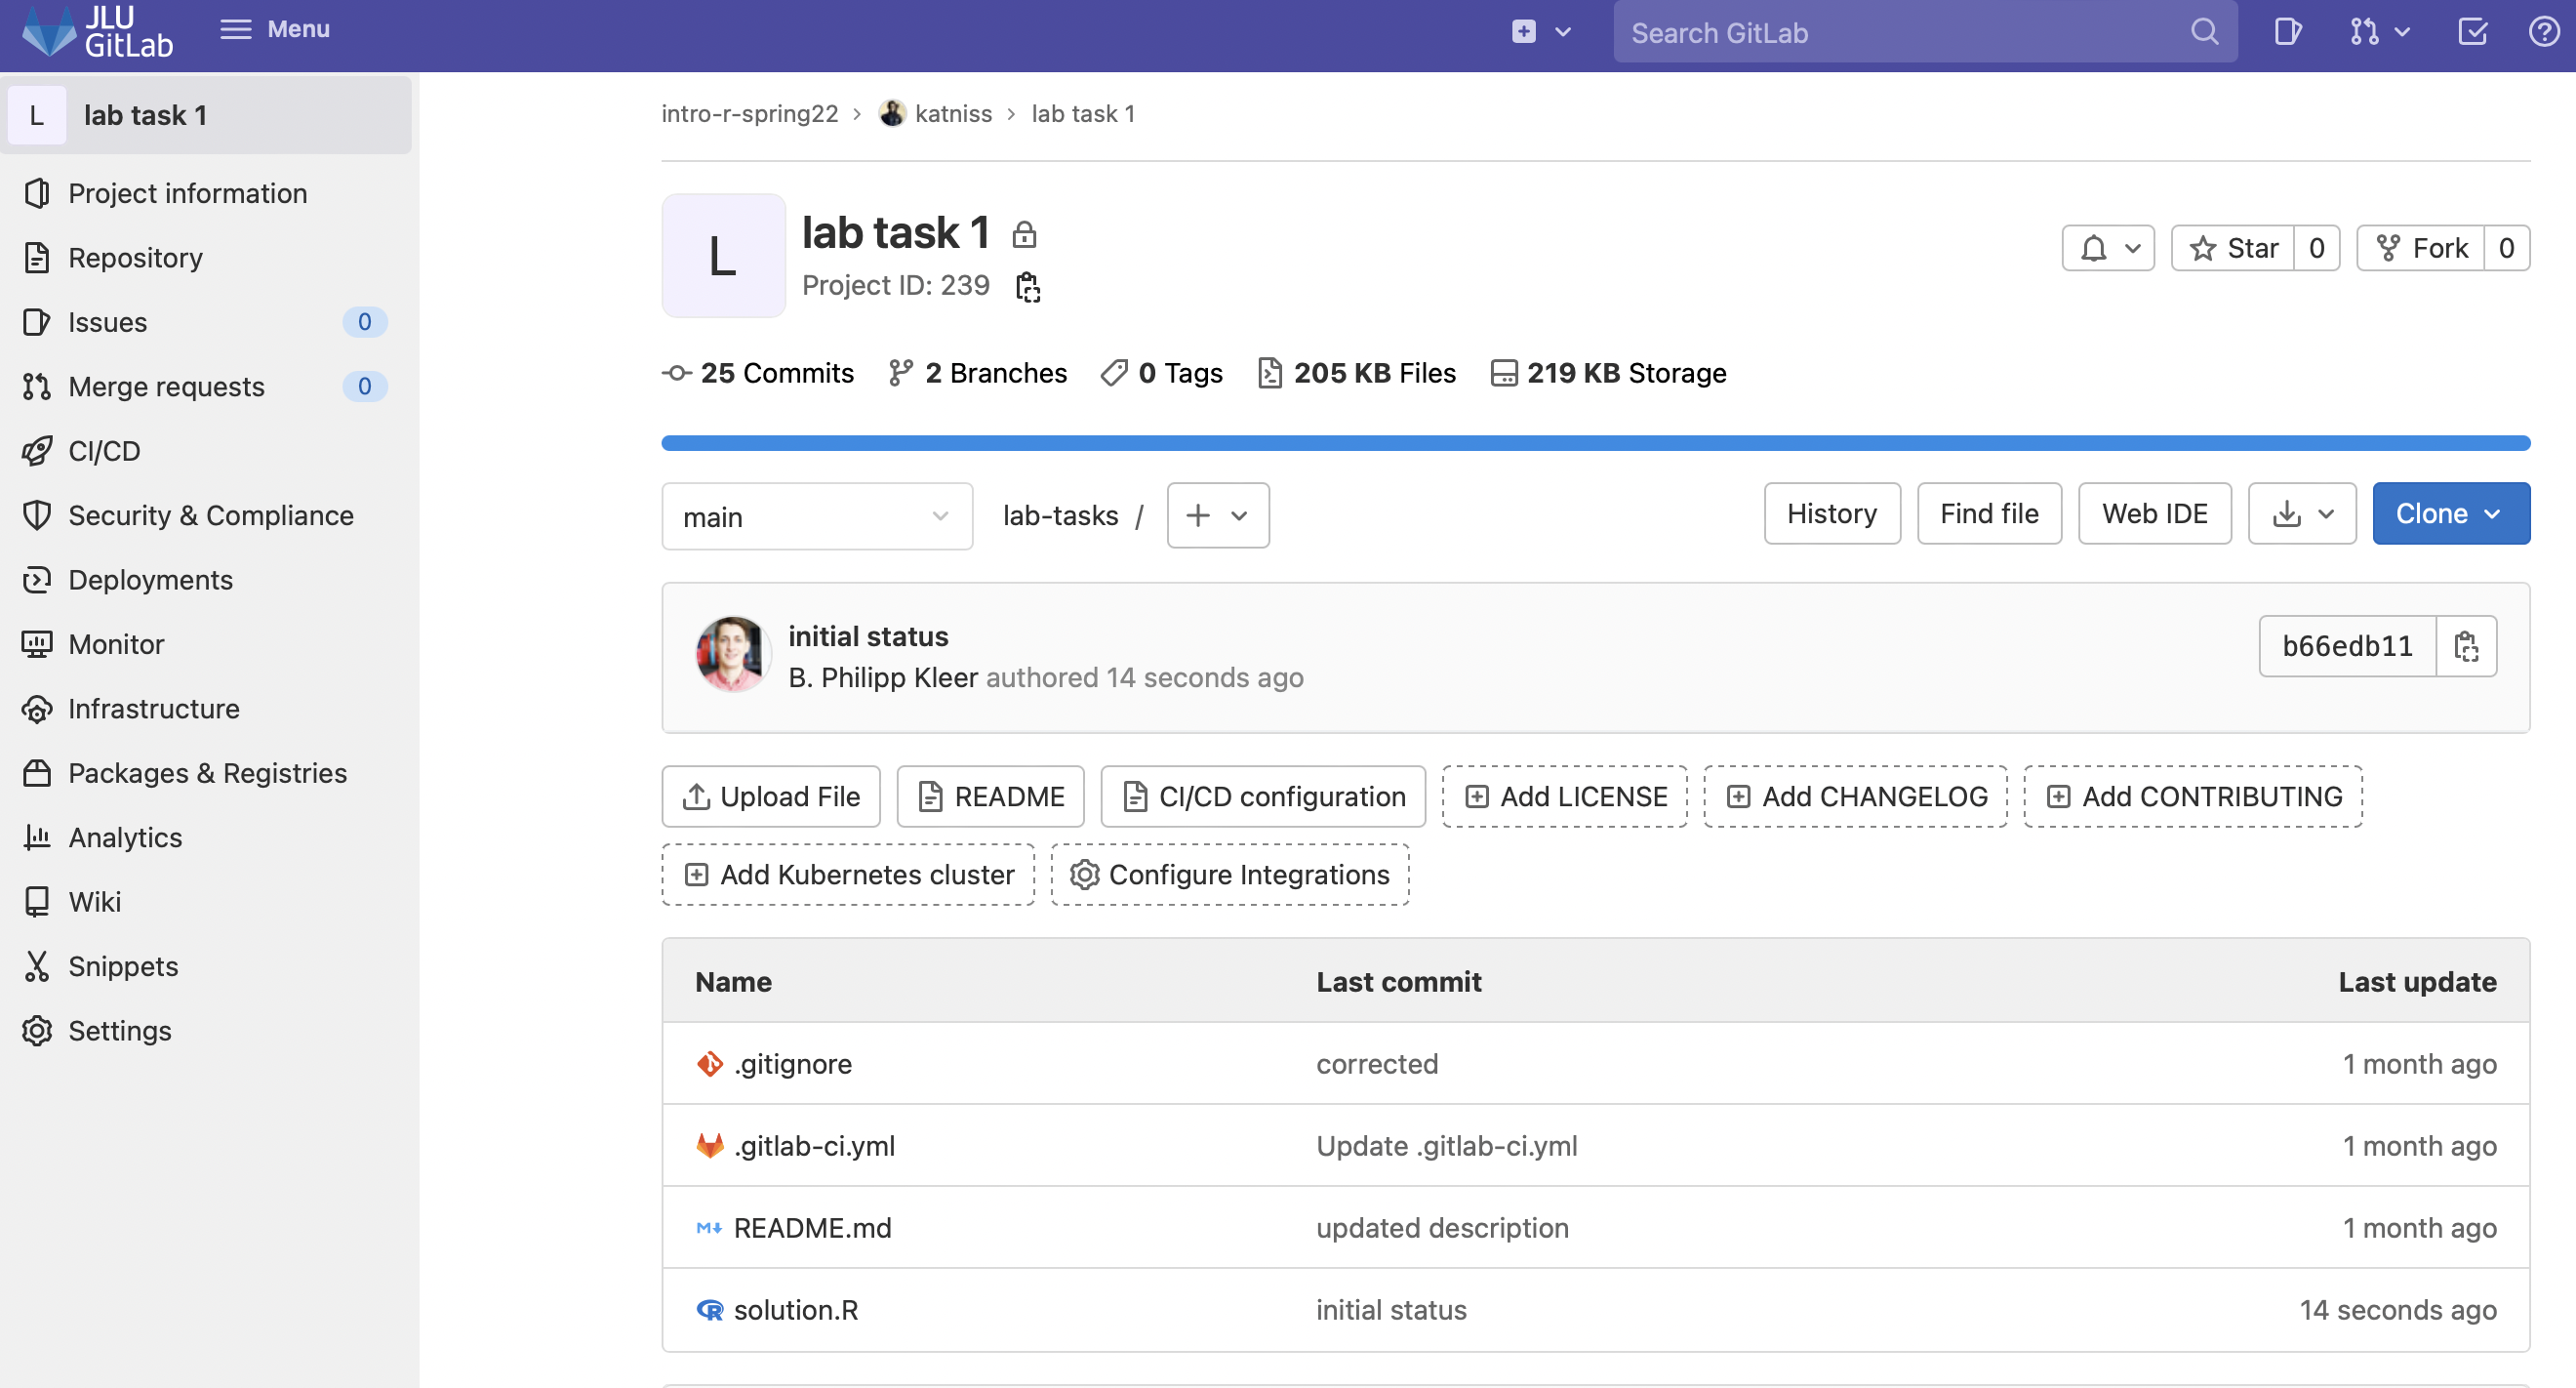
- Go to the repository of the respective lab task
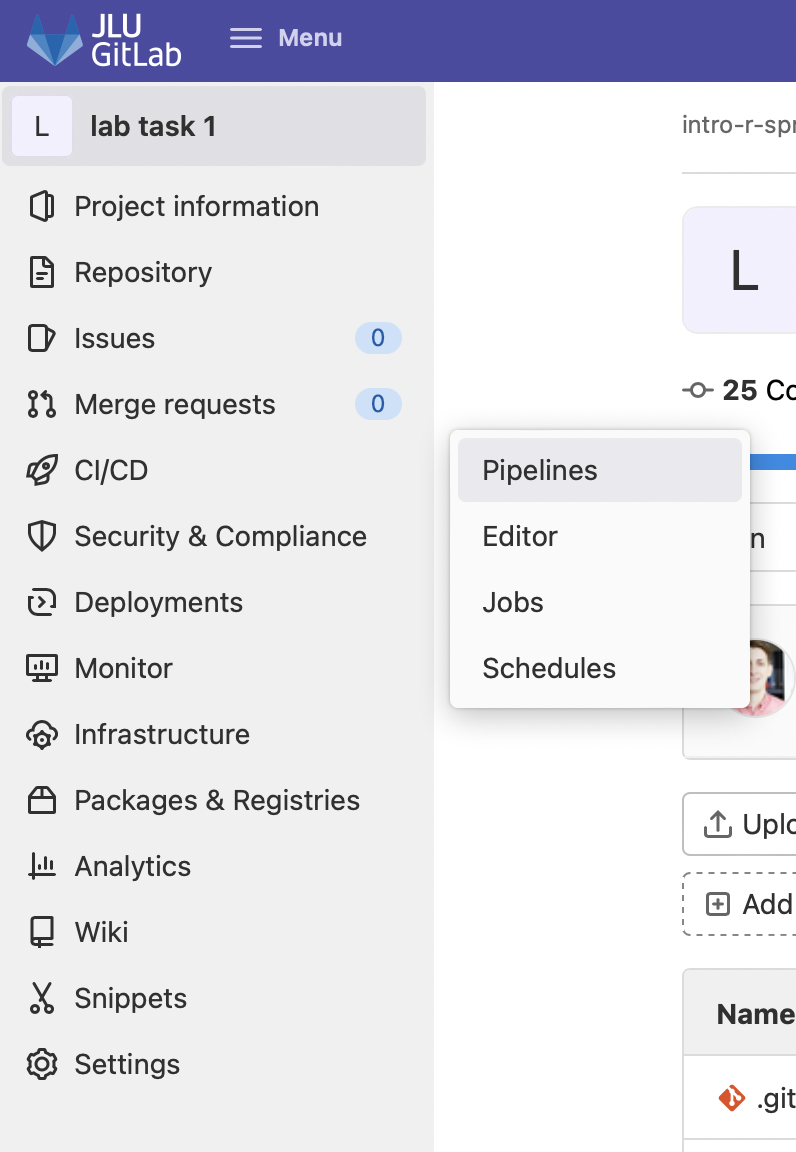
- Then go to the left menu CI/CD -> Pipelines
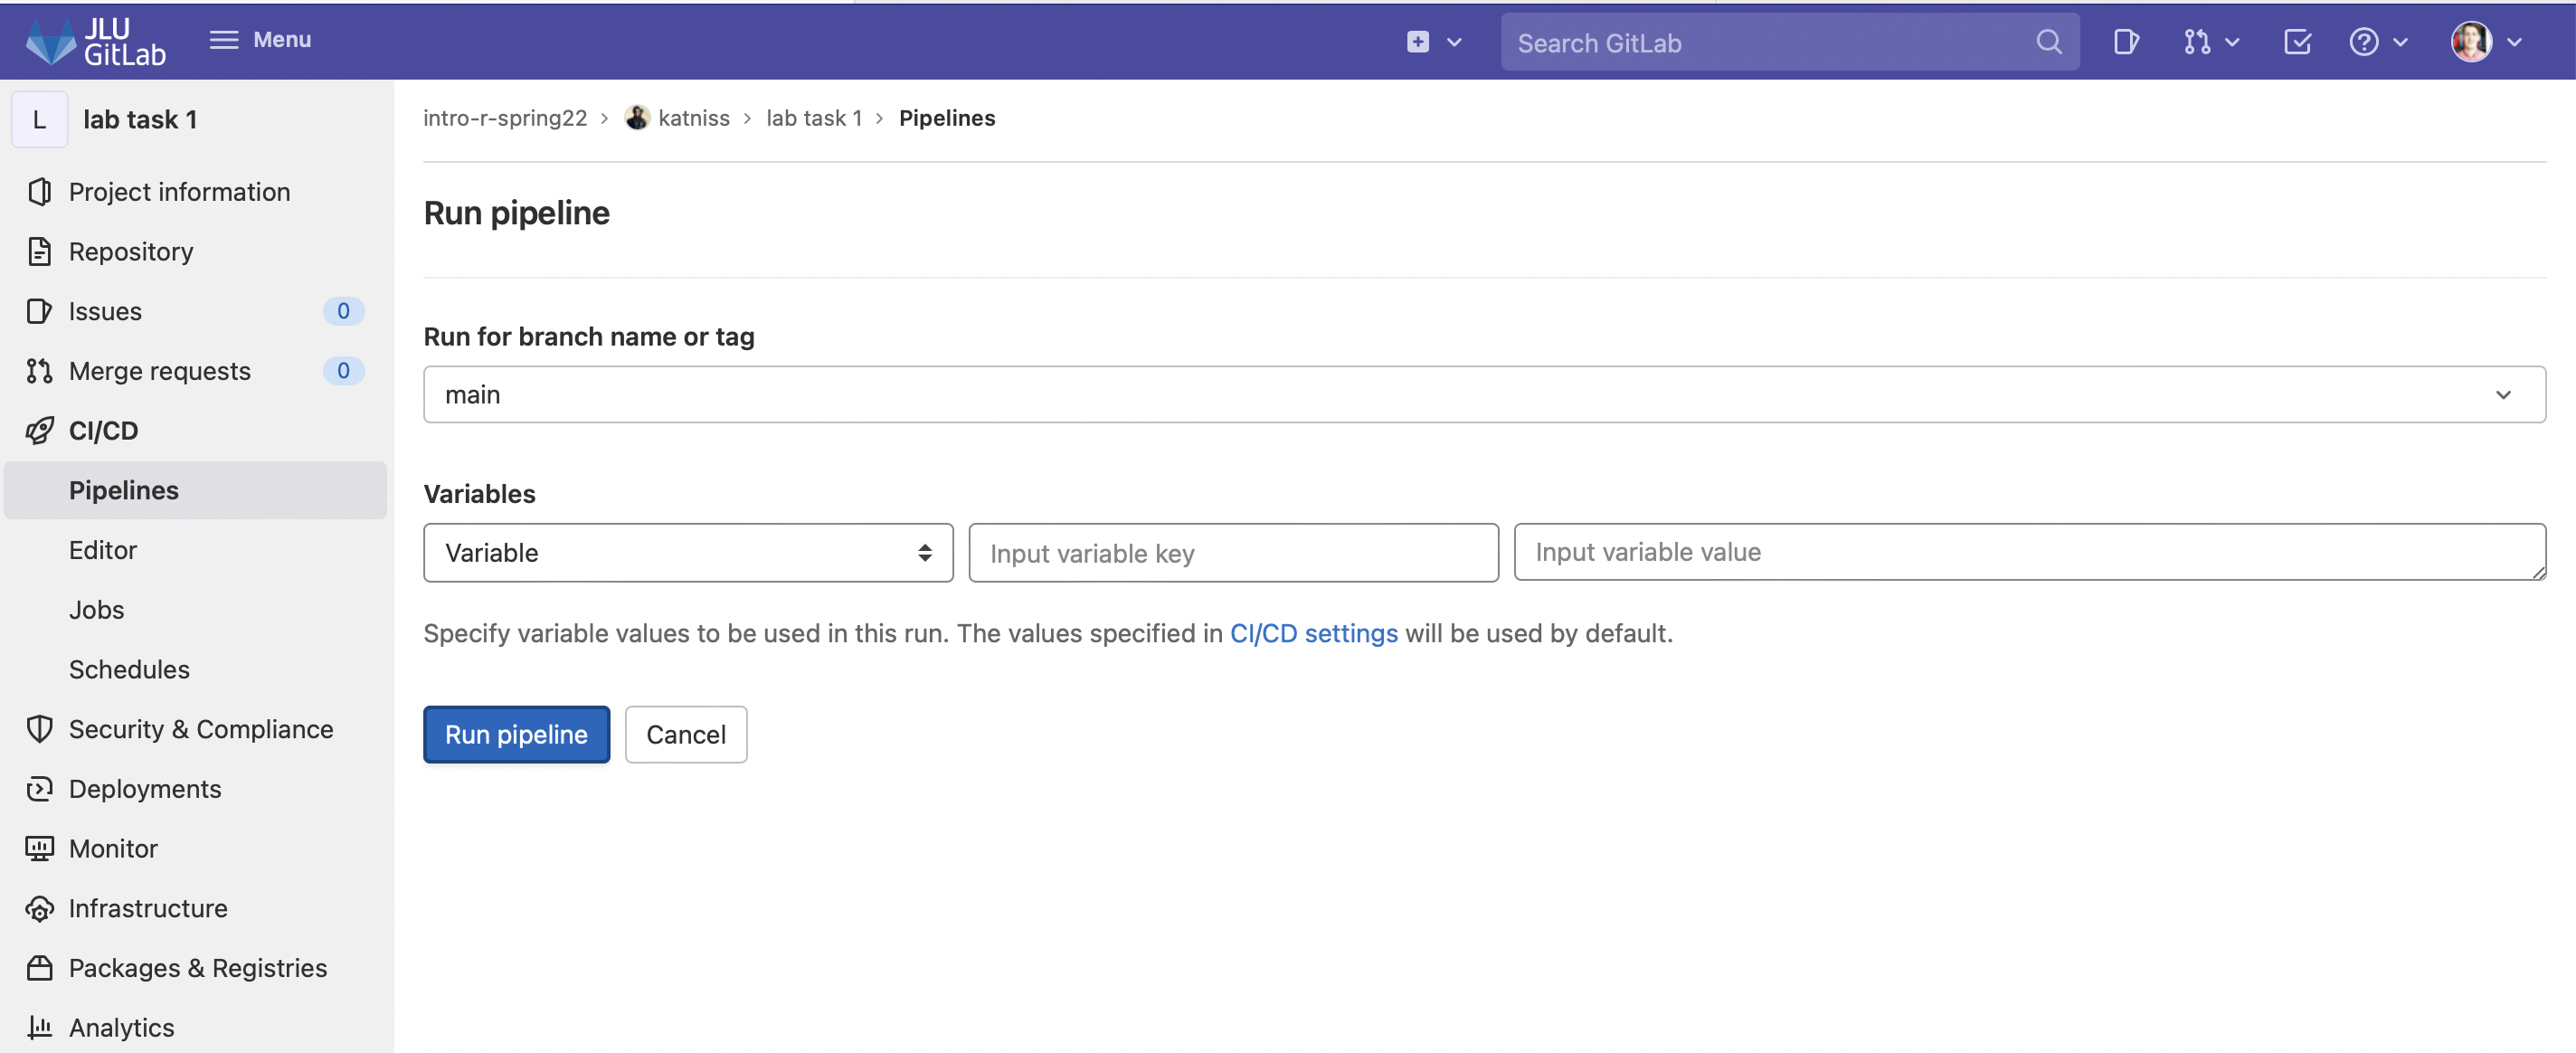
 5. Then click on Run Pipeline on the right.

- On the new page, simply click Run Pipeline again without changing any settings.
- The pipeline has started, and you will see the following image:
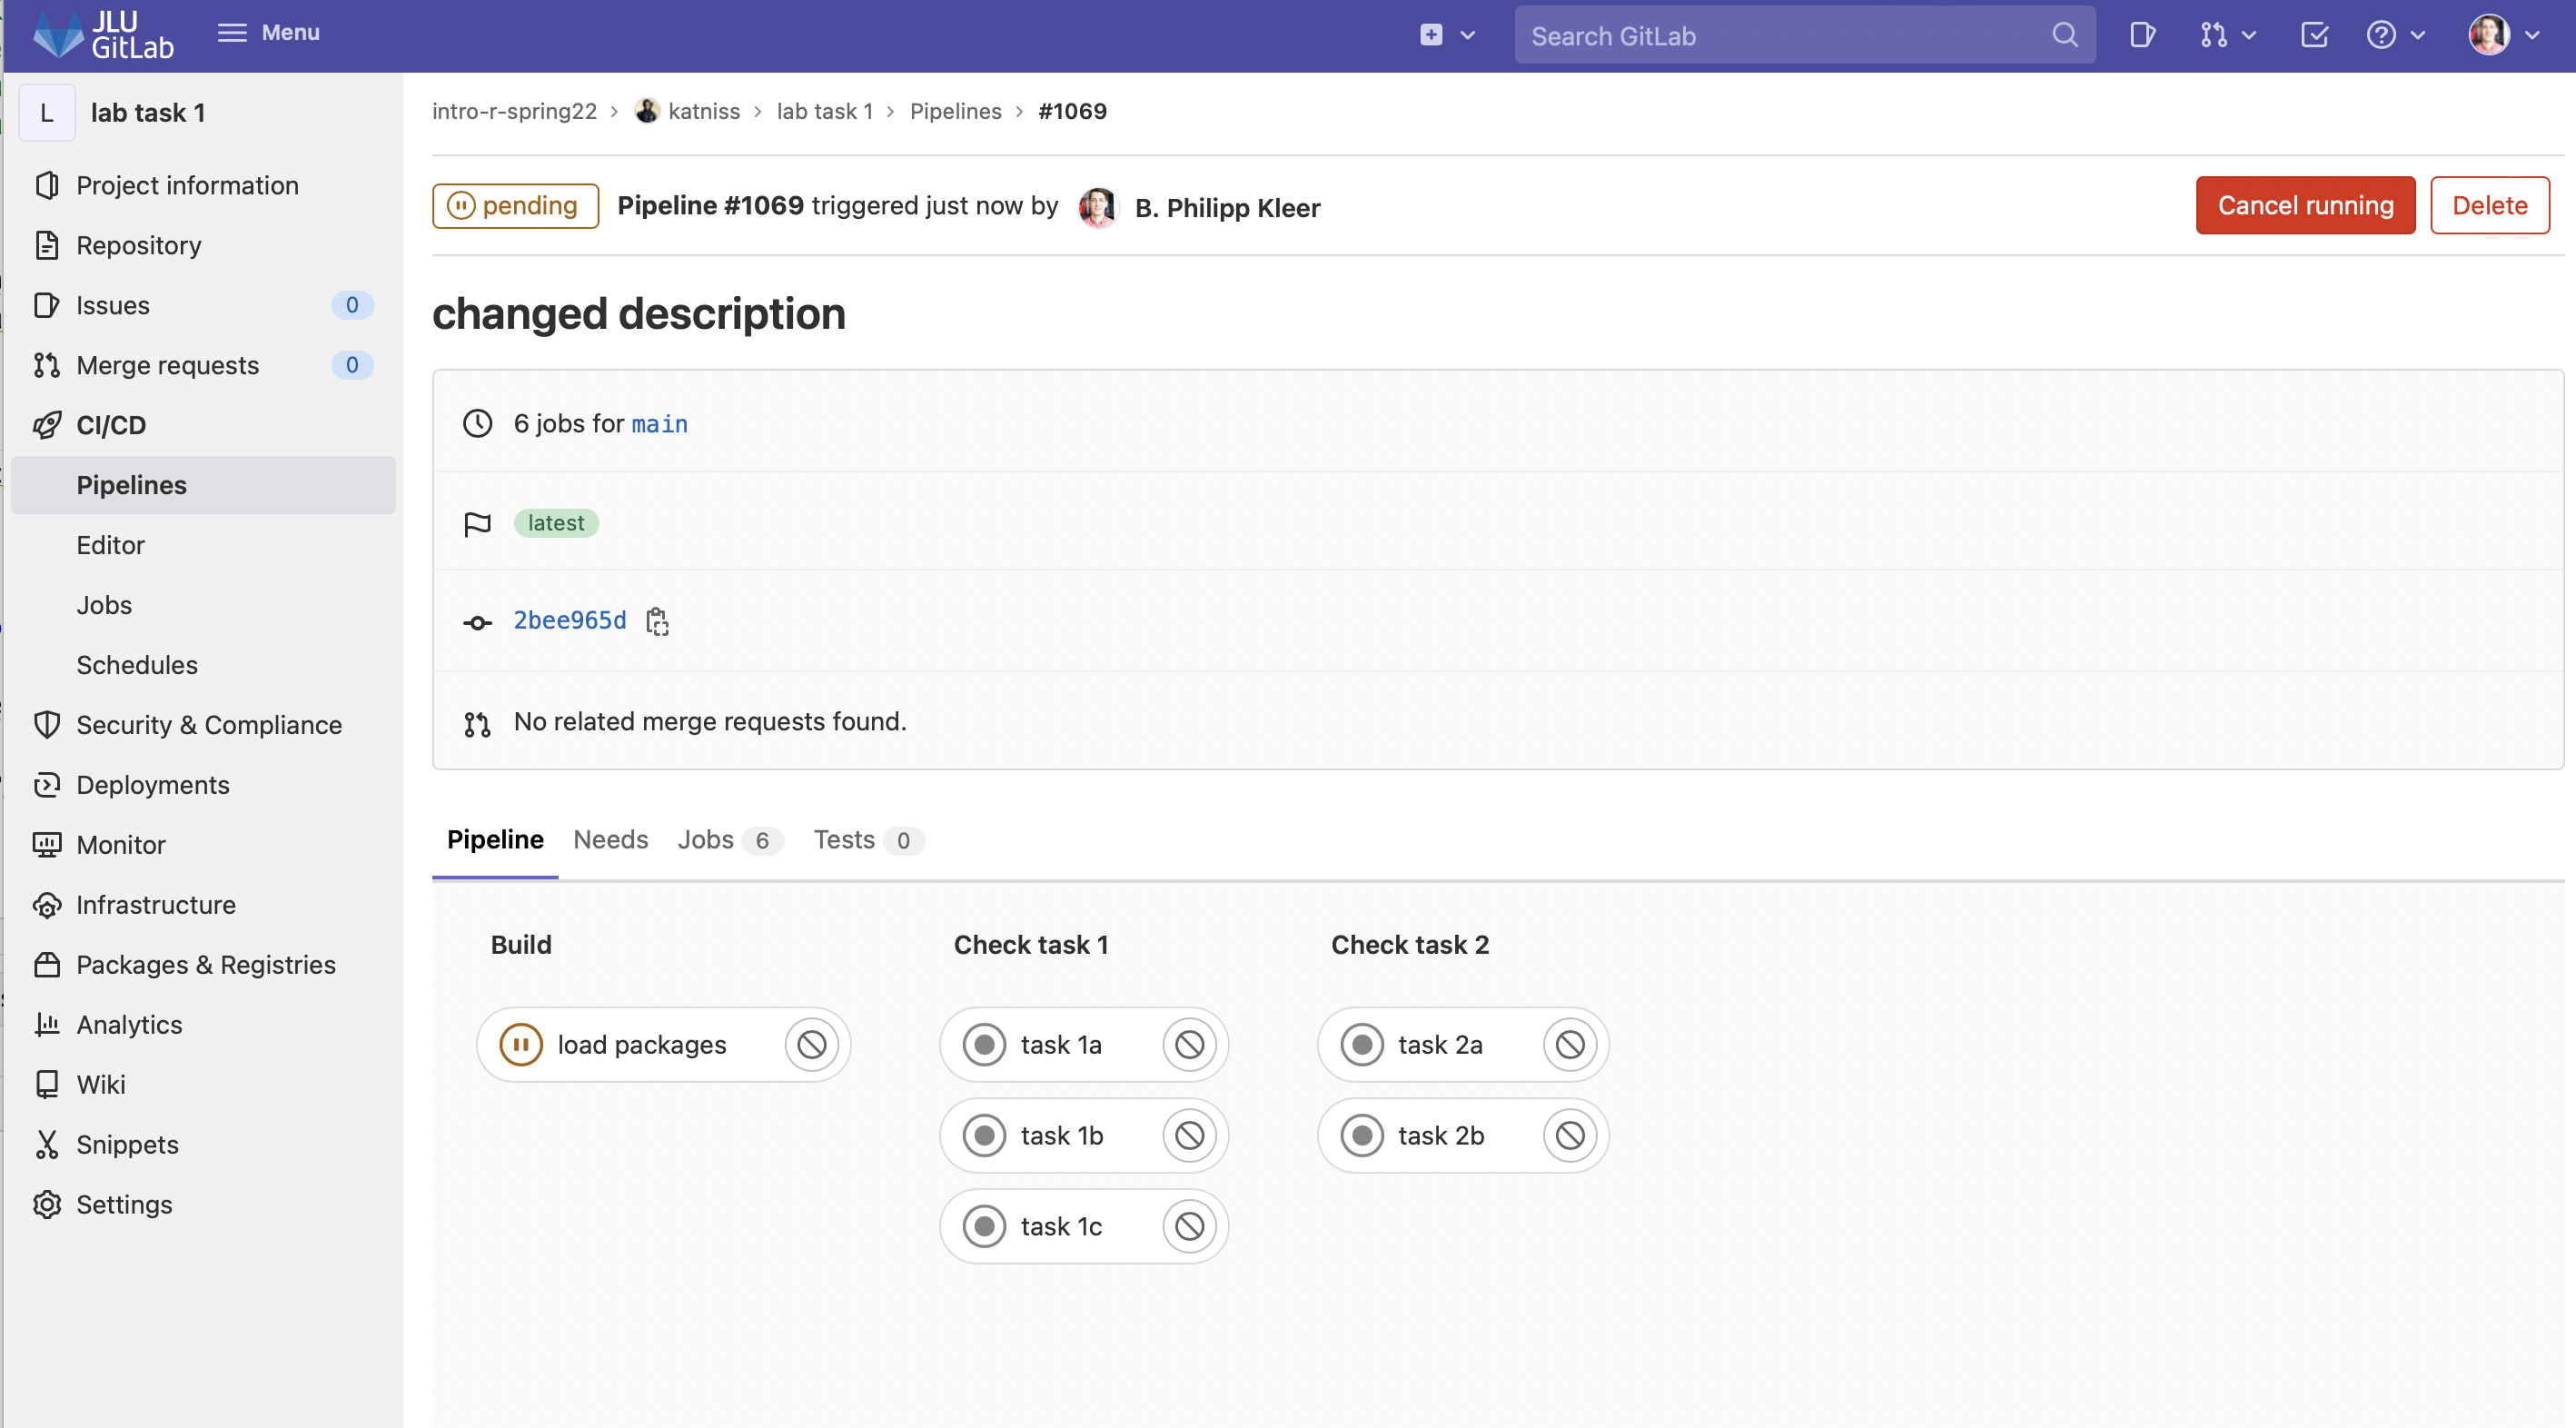
- If the pipeline is successful, it will show passed; if it was not successful (solutions are not correct), it will show failed. In this example, failed will naturally appear because the script is still empty and therefore cannot be correct.
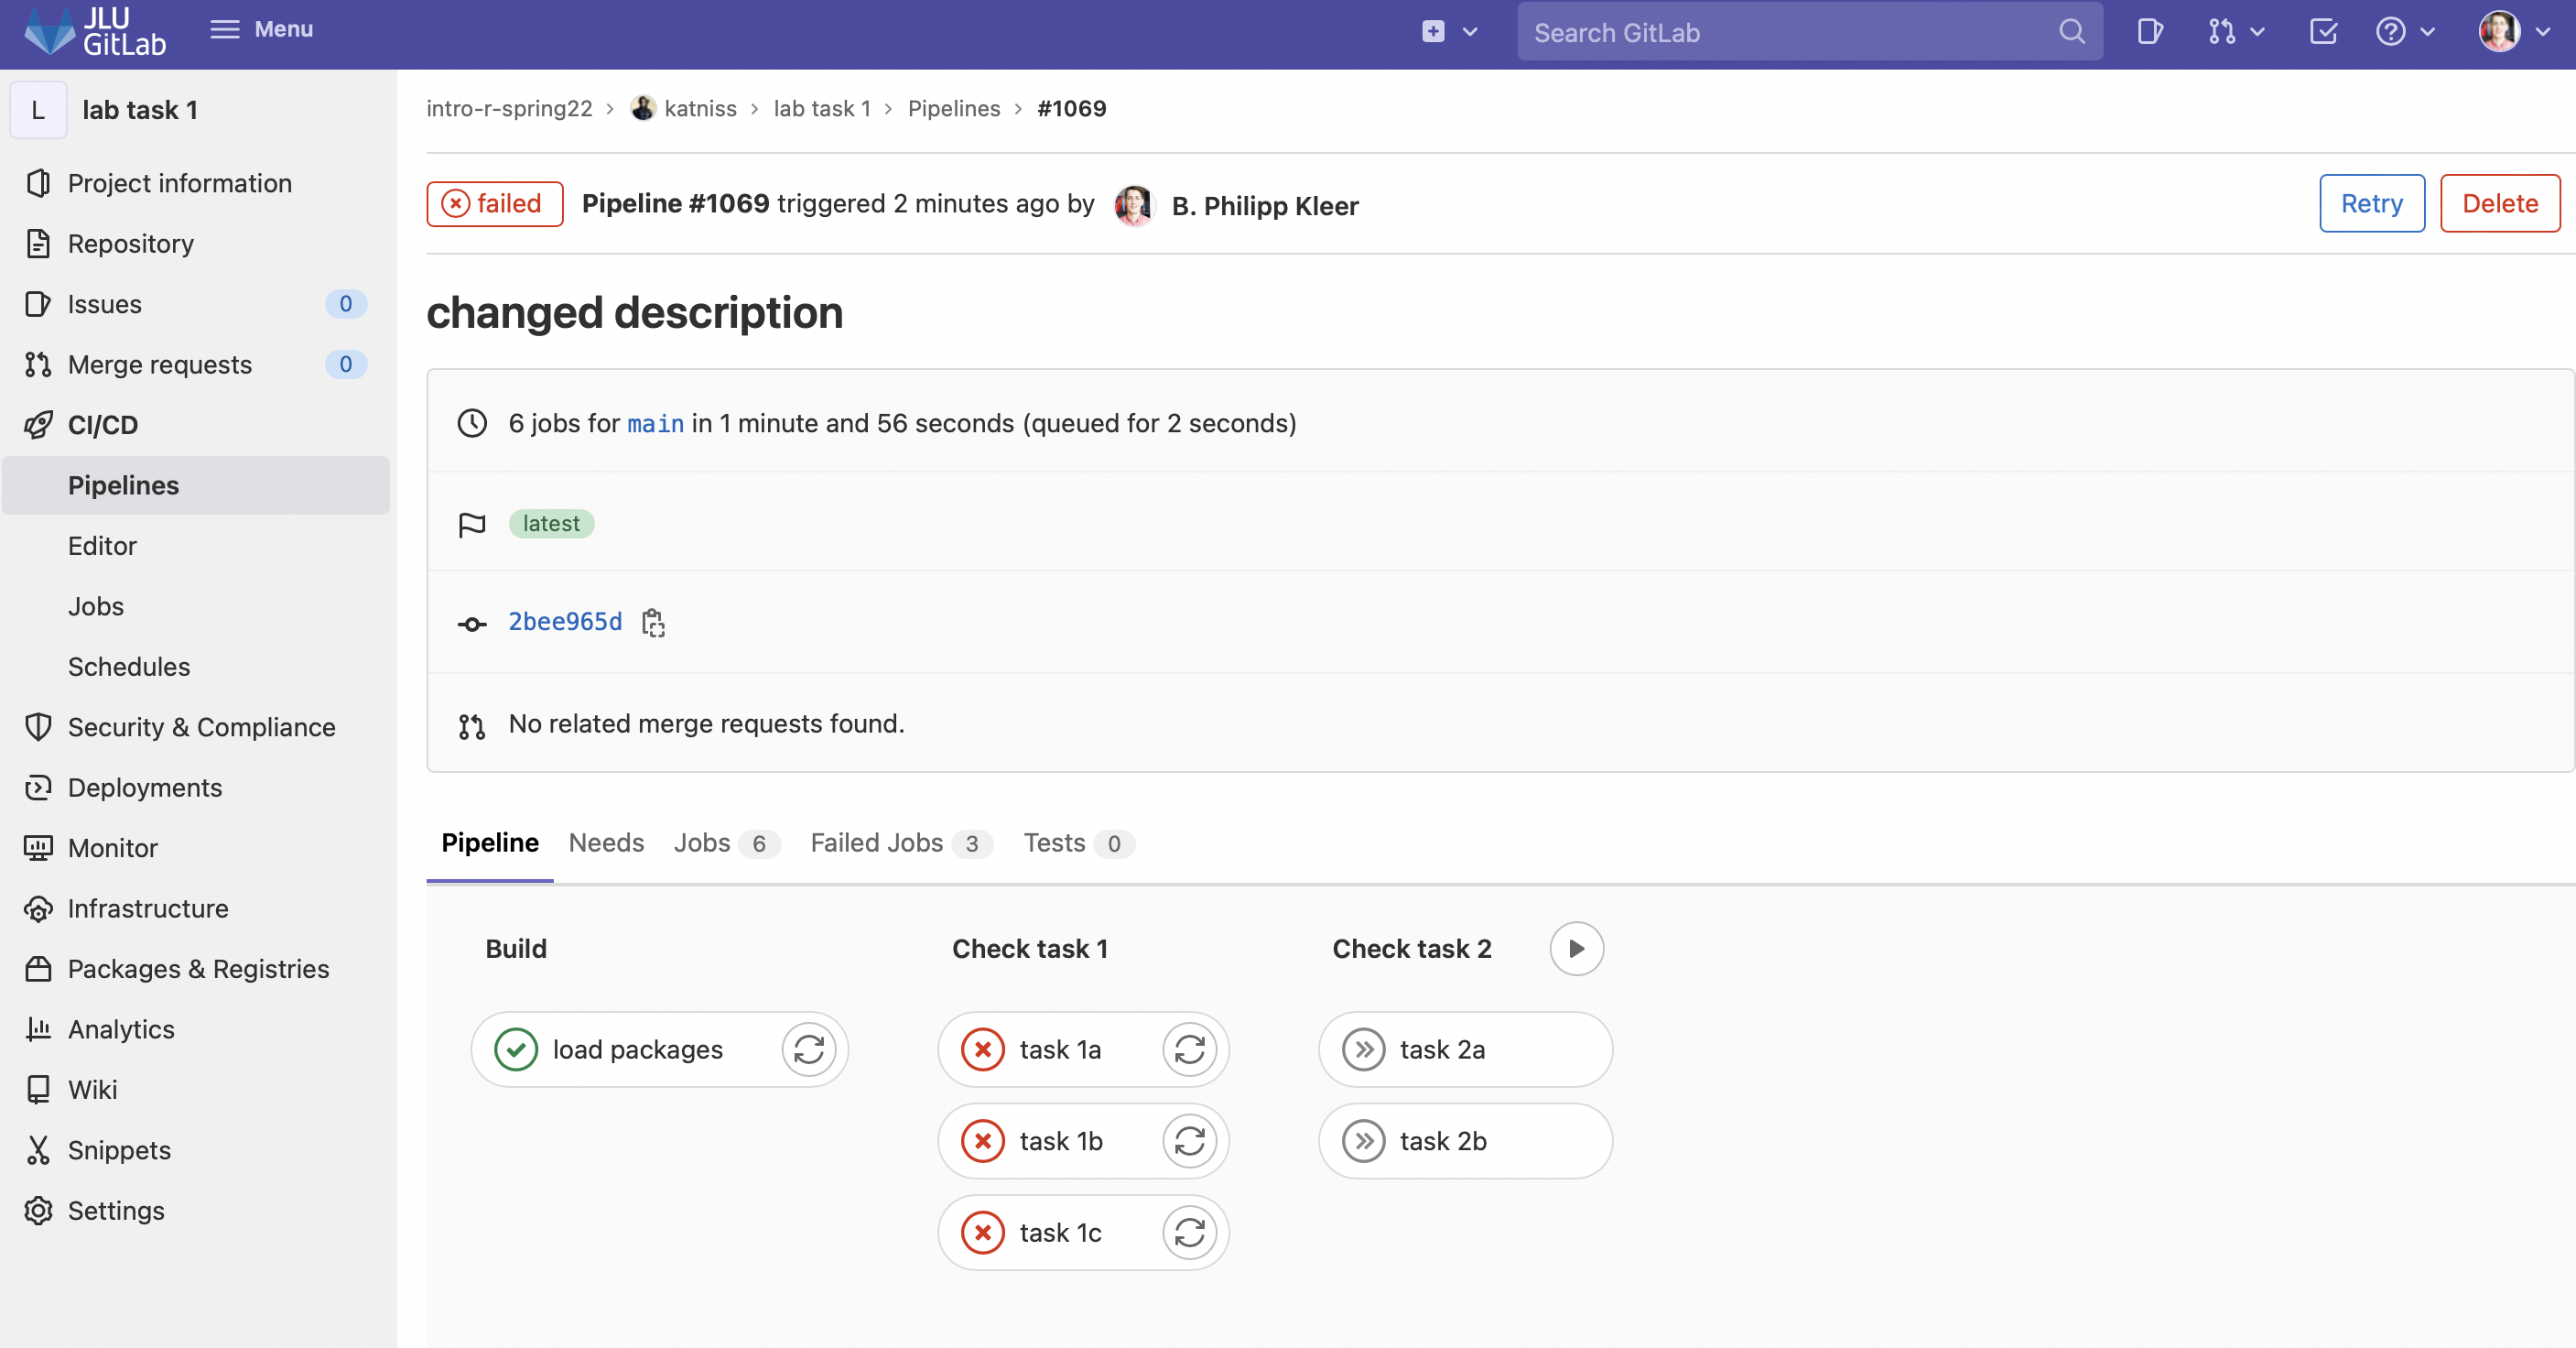
If a pipeline failed, you need to continue working on the script and reconsider what may need to be changed. If you or your group are stuck, attend the tutors’ office hours!
This is how easily you can automate the checking of your submission. You can do this at any time! Please note that the server being used does not have unlimited resources, so for later tasks, it may take 10 to 20 minutes before you see a result in the pipeline.
Now you just need to learn how to update the course materials!