Sharing Changes
Now we need to learn some vocabulary for gitlab. As mentioned, thanks to the configuration with RStudio Cloud, all settings have already been made, but it is important that you look at and understand this terminology!
The following terms are briefly explained here:
Project (or Repository)
Group
Clone
Commit
Pull
Push
Project (or Repository)
A Project (Repository) is like a folder in Hessenbox or DropBox. Projects are synchronized through Git and version histories can be tracked. A Project is a collection of files, with their editing history versioned in snapshots. With Git, you can manage any number of different repositories.
A Git project is, for example, the course materials. This Project contains the course materials for the course. This is the global version (server-side) hosted on JLU Gitlab. You can edit the files directly on the server, but you usually don’t do that. We will edit all the files in RStudio Cloud and make changes there as well.
Group
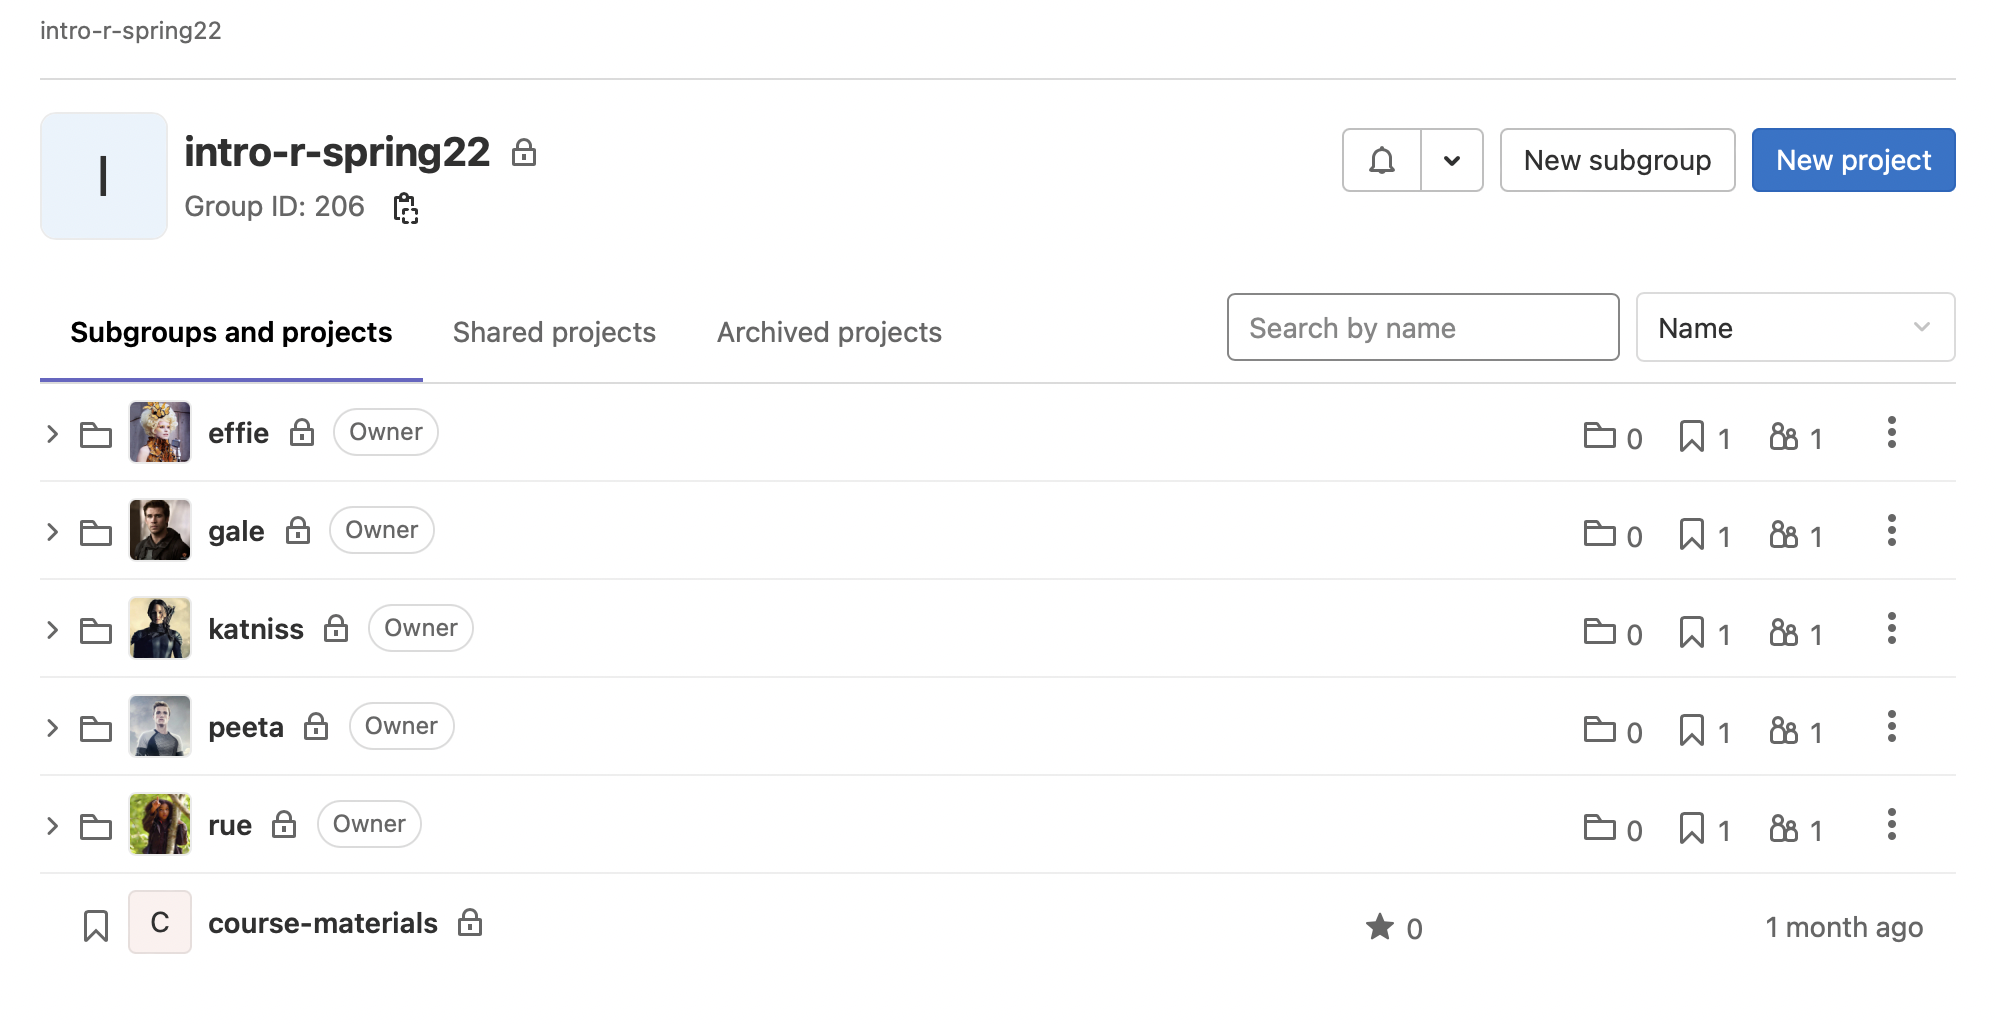
A Group in Gitlab is simply a collection of different repositories within a group. For example, this course is such a group, where there are several subgroups and a Project: effie to rue (subgroups) and course-materials (project).
Clone
In RStudio Cloud, the folders are already cloned in the respective projects, so you don’t need to do this step yourself. However, for understanding purposes, it is still useful to briefly understand what cloning is.
To be able to edit files locally, you need to save the server version locally and link it with Git. This process is called cloning, as you create a mirror image of the server version locally on your computer and can then work on it.
This allows each person in a team to work autonomously on their respective local clone. However, to make the individual changes available to everyone again, you need to perform the git three-step process, which consists of commit, pull, and push.
Git Three-Step Process: Commit, Pull & Push
Commit
After editing the script for the group assignment in RStudio, you can make these changes available to everyone else. To do this, we follow the git three-step process, where commit is the first step.
With commit as the first step, we inform Git that the changes we have made should be registered and added to the server versions.
In RStudio Cloud, you simply need to go to the Environment pane and switch to the Git tab.
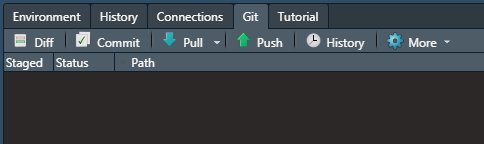
There you will also see the three buttons of the git three-step process: Commit, Pull, and Push.
If a file has been changed by you (compared to the server version), it will be displayed directly in the window.
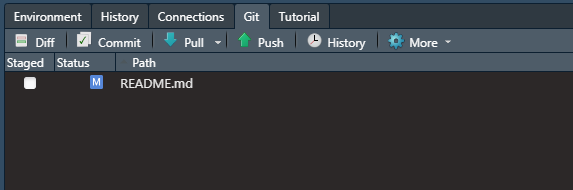
The small M means modified, indicating that you have changed the file. If you add a file, a small A will appear next to the file (for added), and if you delete a file, a small D will appear (for delete).
To execute the first step commit, simply click on the commit button in RStudio. A new window will open, as shown in the screenshot, and we will now explain the steps of commit.
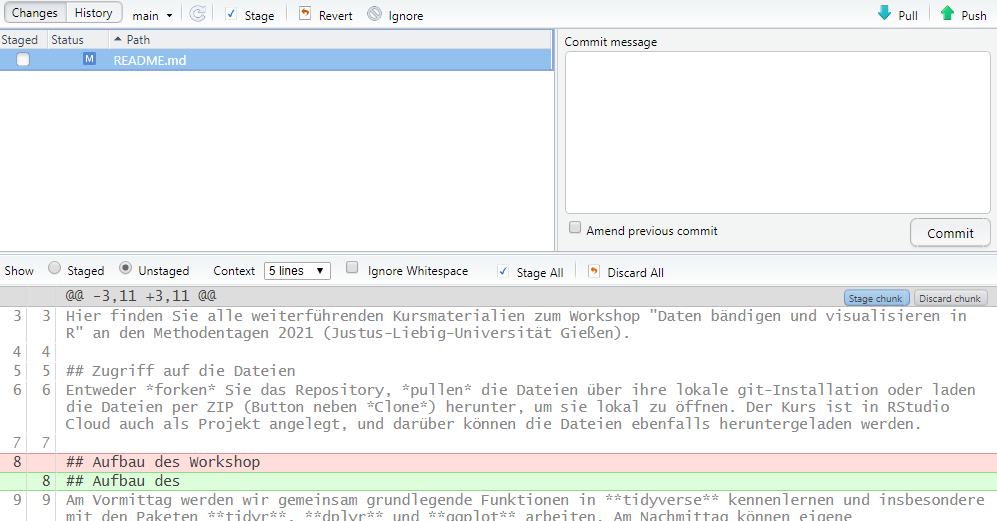
In the upper left part, you will see all the files that have been changed. Here, only the file README.md is shown. To commit the changes to this file, you need to check the box next to the file. So, if you have made changes to multiple files and want to commit them simultaneously, you need to check the boxes next to each file individually!
Secondly, there is a commit message at the top right. This is very important, and you should write a precise message here. The commit message is a brief description of what you have changed. It appears during versioning, making it easier to understand what has been changed, rather than just looking at the code itself. For example, if you have added the first subtask, you could write here: task 1a solved.
In the lower part, you will see an overview of the file: Here, you can see what has been removed or added compared to the global file. This is not particularly relevant in our small projects, but you can always take a look at it if you wish.
Once you have selected the file(s), entered a meaningful commit message, you can simply click on commit in the window.
Pull
As a second step, you can then click on Pull in the window. With Pull, you fetch the latest version of the file into your RStudio Cloud. This is important because you might be working with a version that has already been further edited by someone else. If you don’t pull beforehand, there will be a Merge conflict. In this case, you need to contact us. However, if you always follow the git three-step process, this won’t happen!
So, after registering your changes with commit and then loading the latest version from the server with pull, you can now share your changes with everyone else by using push.
Important: Do not execute pull if you have not committed your changes beforehand. Otherwise, you will receive an error message stating that your changes are not staged. Therefore, always follow the git three-step process!
Push
With push, you send your registered changes back to the server or others. If you follow the git three-step process, there should be no issues. If there are any problems, feel free to contact us!
Now you are ready and know how to share changes in RStudio during group work. On the next and final page, we will explain how you can utilize the automatic check in GitLab.